How Long to Edit 5 Hours of Video Footage
So, you decided to shoot your own promo or explainer or promo video for your business. You followed my advice about lighting, locations and recording, and now you have hours and hours of footage.
Now what?
It's time for a big, complicated process people in the film business call "post production." In this blog post, I'll show you how to edit everything together in a nice, clean video for all of your customers to enjoy. Check out this article on how to create a video if you want to learn more about the video production process.
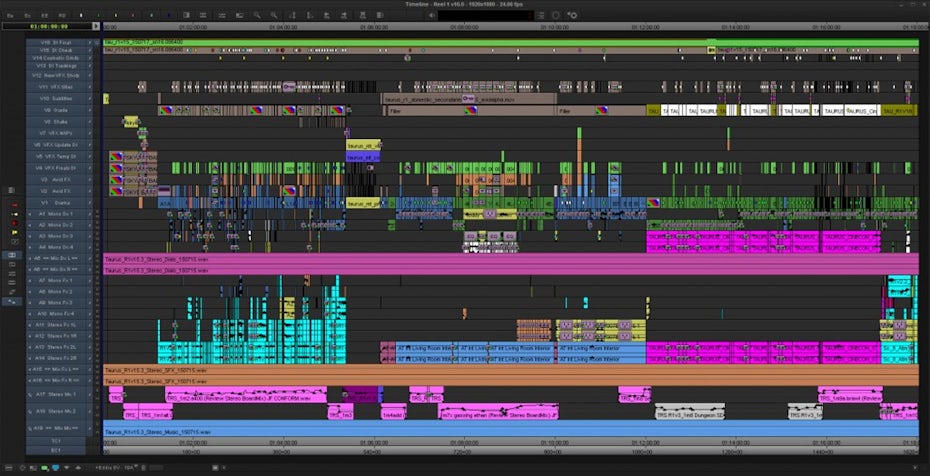
Keep in mind, this article is all about style and technique. What it's not about is what software you should use, keyboard shortcuts, what every little icon on the screen means. There are plenty of great tutorials out there for that.
Instead, I'm going to teach you about editing techniques and principles that have applied to every movie since D.W. Griffith invented the close-up, and will continue to be useful until we start downloading virtual reality experiences directly into our brains. It doesn't matter if you use Avid, Premiere, Final Cut or a Moviola. This post is about editing.
Step 1: Organize your footage
—
This is a step that's easily missed in your hurry to start editing. This would be like throwing all your clothes in your suitcase without folding them first. It's going to create a big mess, and you'll regret it later.
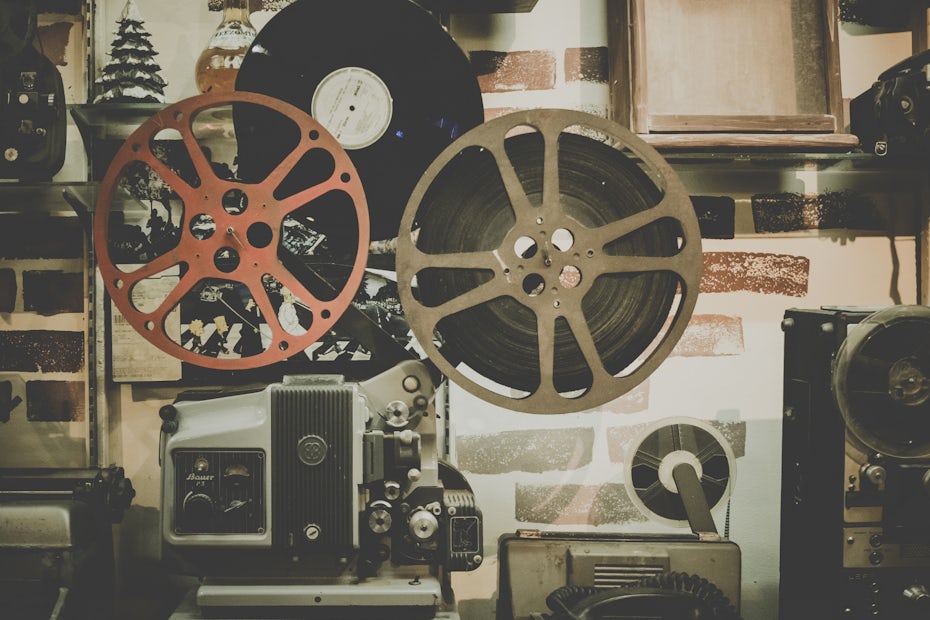
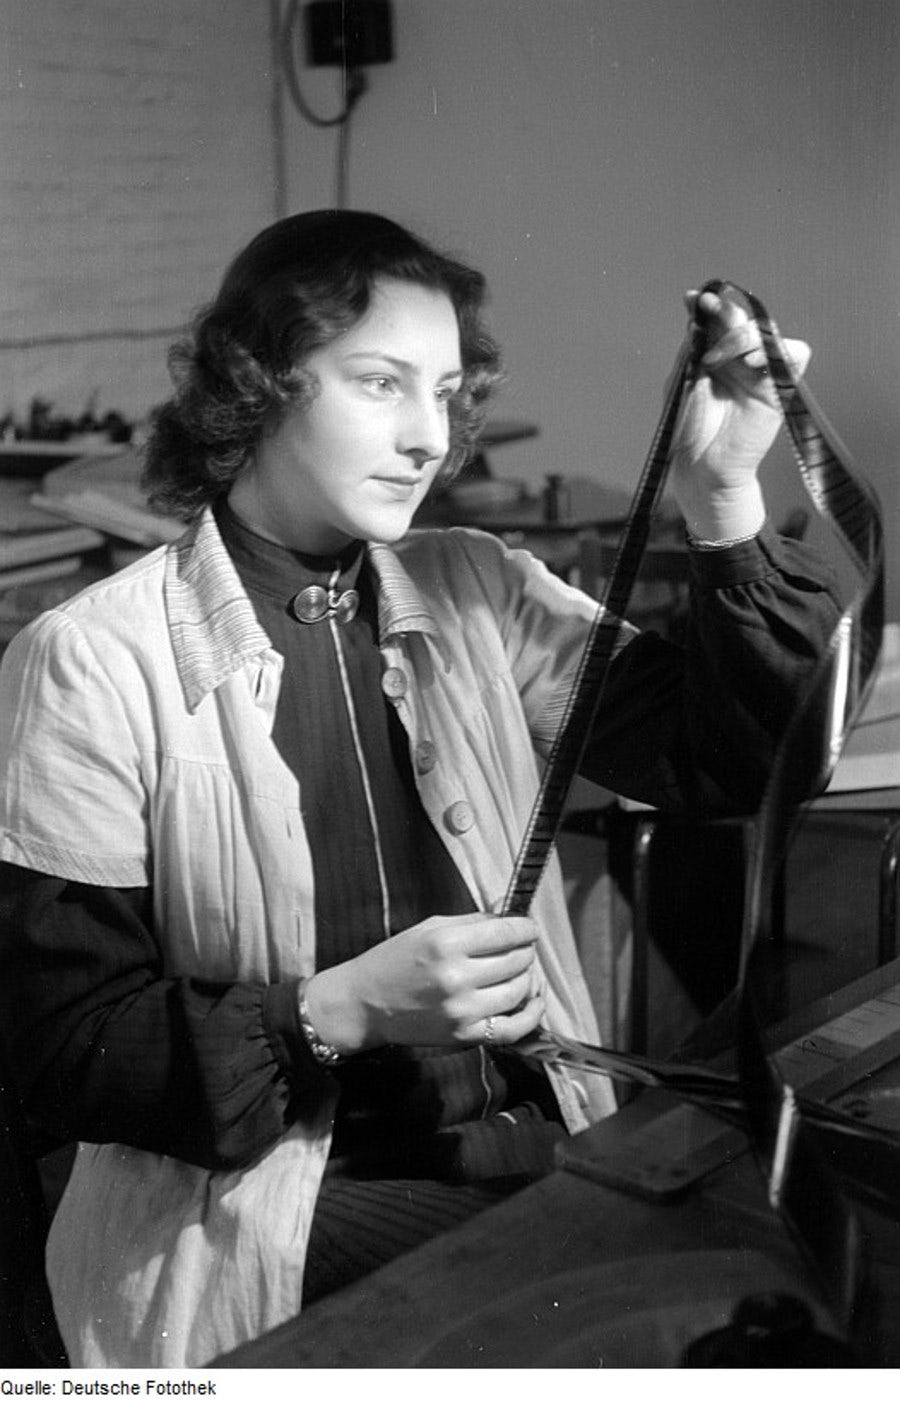
First, create a bunch of "bins." This is an old term that comes from the days when actual film was physically cut, and placed in buckets hanging around the editing room. Think of them as "folders," and you'll be fine. (Most editing software uses a folder-like icon nowadays, anyway.)
How many bins you'll create really depends on the complexity of your video production. You can start with the basics—Interview and B-Roll. The Interview bin is obviously for the footage of your speaker. B-Roll is all of the extra footage you shot of your company and employees doing what they do.
If you interviewed multiple subjects, create a bin for each person. If you have a large, complex business, you may want to split the B-Roll bin into smaller, more manageable bins: Warehouse, Shipping, Office, etc.
Import your footage—however that's done with your software—and move your footage into the appropriate bin.
Your video files most likely have a filename that looks like jumble of letters and numbers. That's going to be be very confusing later. Change the name to something useful and descriptive. For the interviews, you can keep it simple—"Bob Take 1" or "Jane tk 2". ("Take" refers to any time you stop the camera and start it again on the same subject and scene.)
If you shot with two cameras, those are identified with letters—"Tiffany tk 1 Cam A," "Carlos take 3 Cam B." That way, you'll know it's the same event, just a different angle.
For B-Roll, give each shot a unique name that helps you identify its purpose in your video.
Now that everything's nice and organized, it's time to start editing…
Step 2: Assembly cut
—
Begin with just the wide shot of the subject talking. Don't worry about close-ups or B-Roll or anything else. Just play the interview straight through. Anytime you hear something you like, place it in the timeline.
Don't worry about how long the video is at this stage. Don't even worry if it makes sense. Just focus on finding the bits you find interesting and useful. Once you have everything you might possibly, maybe use laid out in the timeline, you have what's called a "string out."
At this stage, treat it like an essay you're writing. Focus entirely on the words. Arrange them in a way that clarifies what your company does, who you are. Remove unnecessary phrases. Don't repeat information.
Now, listen to it all the way through. Again, don't worry about what you see on screen; it will inevitably be choppy. Does it feel long? Coherent? Does every part contribute to what you want the video to accomplish?
And don't forget, this video is for your customers. You may find every aspect of your company fascinating, but they're most likely interested in two things: the best product / service for the lowest price.
But "best" is a malleable term. If you're a salon, styling hair is obviously the service you offer. But what if you and your stylists are particularly good with kids? I can get my little girl's hair cut anywhere, but at your salon, she won't be screaming the whole time. This is the sort of unique selling point you want to include to set you apart from your competition.
There's no hard-and-fast rule for how long your video should be, but consider the videos you watch on YouTube. They're probably between three and five minutes, right? If your customer sees 17:47 on the progress bar, they may not click on your video at all.
Once you've got your content down to a reasonable and efficient length, let's add some visual interest…
Step 3: Inserts, close-ups and cut-aways.
—
"Inserts" are shots of details that you want the audience to notice. "Close-ups" are closer shots of the subject who is speaking. "Cut-aways" are shots of something not in the scene, but (hopefully) relate to what the speaker is talking about.
Together, these three types of shots can be used not only to speed up the pace of your video, but also cover up mistakes and jump-cuts.
If your subject is saying something particularly important, wait for a key phrase, and cut to a close-up. This is a signal to the audience that what the person is saying is very important. If you shot with two cameras ("wide-and-tight," as per the shooting post from a couple weeks ago), I recommend using the same audio from the wide shot. If you want to synchronize the audio from two different cameras, a very useful tool is Pluraleyes.
Another way to obtain a close-up, if you couldn't shoot with two cameras, is to splice a shot in two (most editing software has a tool with a name like "splice" to split a shot). Then, zoom in or "blow up" the second shot. Keep an eye on the picture quality, though; if you zoom in too much, the image will get fuzzy.
This is also a useful technique when you've re-arranged the speech. By cutting to a close-up (or back to a wide shot if you already had a close-up), you visually smooth out the transition from one thought to the next.
Sometimes, you'll have to piece together a coherent thought from several takes or different points in the recording, forming a kind of Frankenstein sentence. You don't want the image to jump around, as this is visually distracting. You can cover this up with an insert or cut-away.
Search through your bins (which you organized very neatly in step 1, right?) until you find a clip that relates to whatever you're talking about. Insert that into your timeline to cover up any odd visual patches.
Now sit back and watch your video from beginning to end.
Step 4: Fine tuning
—
Every video and every editor have a natural rhythm. Watching the video you'll naturally feel when shots feel too long or too short. Listen to that feeling.
Cutting from one shot to another might seem unnatural, but it actually mimics the way we see the world quite well. Don't believe me? Look at the left corner of the room you're in. Now look at the right. Did your eye sweep smoothly from one side of the room to the other? Or did you blink, and miss the transition completely?
It was the latter, wasn't it? That's what cutting is.
As you're reviewing your video, pay attention to when you blink. If a shot feels too long, it's probably because you blinked just before the cut; if it's too short, you blinked after.
I learned this technique from In the Blink of an Eye, by Walter Murch. He edited Apocalypse Now and The English Patient, among other classics, and has been nominated for nine Academy Awards. I think he knows a thing or two about editing.
Once you've adjusted every single edit, go back and watch the video again. Fine tune the edits again. Watch it again. Edit it again. Repeat this over and over until you're sure you're really done.
Except you're not really done…
Step 5: Clean up
—
Once you're satisfied with the pace of the editing, it's time to "picture lock." This means you won't change any more cuts or rearrange any of the dialogue. It's now time to make the video look and sound pretty.
"Color grading" (or "color correction") is kind of like Photoshop for moving images. It involves adjusting the color temperature, brightness, contrast, and other fine details in your video. There are a lot of tools out there, and a lot of fine tutorials, so I'll cover the basic principles.
Open up the first wide shot in your color correction software. You'll have lots of fun and interesting tools to work with, but the most important thing to focus on is your subject's skin tone. If that doesn't look natural, nothing else matters.
Most cameras shoot "flat," or low-contrast images. This allows your software more room to work with brightening and darkening the image. So, another key aspect to work on is the contrast. Increase the contrast until your subject really stands out from the background.
Once you're satisfied with the image, copy those settings onto all of the wide shots in your video. Check each one individually, because the lighting can change subtly over the course of a shoot. Ensure they all look the same.
Next, apply those settings to your first close-up. It will almost certainly not look right. That's okay, it's just a starting point. You'll have to adjust the colors and contrast, once again with a focus on skin tone. This time, however, compare the skin tones so the match the wide shots.
Again, apply the close-up settings to the rest of the close-ups, and double check they work.
These settings won't work for your inserts and cut-aways, however. You'll have to color grade each one of those individually. Sorry.
On to the sound!
While recording the audio, you almost certainly picked up some background noise. Luckily, there's a piece of open-source, free software called Audacity that's easy to use and perfect for this situation.
Essentially, you'll export all of your audio (consult your editing software's manual for how to do that), and import it into audacity. Then you'll select a portion of the audio with no dialogue to sample the background noise. Lastly, you'll simply tell Audacity to remove that sound.
More detailed instructions can be found here.
Export the cleaned-up audio and import it back to your video.
You did it!
—
Now sit back and watch it one more time, basking in the glow of all the hard work you put into making and editing a wonderful explainer video.
Video editing is a long, arduous process, but in the end, you'll be glad you put out a video that your clients will watch and appreciate.
In case you missed it, check out the first post in this series on how to shoot your own professional looking explainer video.
Want to learn more about creating videos?
Read our ultimate guide to video production.
How Long to Edit 5 Hours of Video Footage
Source: https://99designs.com/blog/video-animation/how-to-edit-video/
0 Response to "How Long to Edit 5 Hours of Video Footage"
Post a Comment